For a Quick Reference

Showing posts with label Sarah. Show all posts

Friday, July 25, 2014

Reading, reading, and treatment updates


We've been doing a lot of reading the past few days- the kids read their fiction and I have been reading everything I can about scoliosis cases and treatment options, bracing difficulties and the psychological impact of bracing a child. I'm feeling much better-equipped to be Sarah's advocate as we move forward with treatment, and I'm understanding better exactly what we have ahead of us for the next few years.

I've been reading a gem of a book called, "Straight Talk from the Curvy Girls: Brace Yourself for What you Need to Know". (Love all the puns in the title!) It's full of individual stories by several teen girls who have scoliosis and addresses all their struggles, successes, and worries. It's also full of informational chapters, which are packed with helpful insights.

When I read some of the memoirs, I cry when I think of Sarah's upcoming journey with scoliosis. It's tough to know she has a rough road ahead, but I'm finding comfort and strength reading how so many girls found this experience to end on a positive note- after years of struggles, they learned such confidence and gained a powerful inner strength. I'm hoping Sarah will have similar self-discovery.

I have faith that this journey will help her grow and become the strong person a loving God wants her to be. I know He gives us trials tailored to our needs, and He is trying to help us grow into the beautiful person He sees inside us waiting to be awakened.

I am reminded of the allegory of the fruit tree that was painfully pruned but needed the pruning in order to reach it's full potential. I believe this is why Sarah was given scoliosis as her trial, and I hope our relationship grows to a new level as we walk this path together. Already we've been blessed with many bonding moments as we've researched together, talked about her concerns, and made a game plan for treatment.

I have tried to keep things positive as much as possible. We don't often buy clothing new- thrift stores and garage sales are our routine way to get clothing. However, the body brace makes fashion VERY tricky, and there are some necessary purchases that just can't be done second-hand. So earlier this week we had a Night Out shopping for the mandatory special undershirts that will help protect her skin from abrasion with the brace. It was so fun for her to get to shop at the mall and find colorful seamless tops that will work (Have you ever shopped for seamless shirts? Super hard to do! She can't have any seams under her brace, and requires a shirt with sleeves to help protect her underarm area from getting scraped.) After hunting in several stores for several hours, we finally found what we needed, and she is looking forward to wearing these tops.(Thank goodness J C Penny had exactly what we needed!)

She will be wearing the brace for 22 hours each day. That's such a lifestyle change and the brace puts severe limits what she can do. Clothing is VERY tricky since most clothing just can't be worn with a body brace. We are planning another shopping trip for the day she gets her brace in 2 weeks. I'm hoping that will help make a difficult day have a pleasant ending she can look forward to. (Getting braced for the first time is emotionally draining and sometimes traumatic, and it hurts for the first few days. Tough stuff to face.)

One thing we discovered is that any time she spends in a pool doesn't count against her hours out of the brace. The water supports her body, so Swimming Time = Freedom Time. We also learned how important it is for her to be strengthening her back muscles to help counteract the atrophy that happens with scoliosis (one side of the back grows bigger and the other side atrophies, which makes the spinal curves worse). So we have started a YMCA membership this week.

The kids are so happy to have access to pools and water slides, and we all have been enjoying our time there. Wednesday we were there for 4 hours swimming and exercising. Sarah, Matthew, and I enjoyed swimming laps for about an hour- I was surprised at how much they enjoyed racing me over and over. Yesterday we were there for another 4 hours- there are so many neat group classes to attend that I am reluctant to leave!

We have decided to use a therapy used in Europe for 90 years called the Schroth method. It's hard to find doctors in the United States that practice this, since it's still 'new' to this hemisphere and the common 'treatment' here is to just wait and see what happens, then do spinal surgery to fuse the spine when the curve gets really bad. I don't agree with the Wait and See philosophy, and have extensively  researched this method of helping scoliosis curves remain stable. The Schroth Method is customized for each patient's spinal curve and works on strengthening the necessary back muscles to help straighten the curve. It doesn't cure scoliosis (there is no cure), but it can help prevent surgery. It's not a guarantee that she won't need surgery, since some people have curves progress no matter how hard they work to prevent it- it's a genetic aspect of scoliosis that is out of our control. But we're going to do our best to improve her chances of success as much as possible.

The nearest doctor we can find practicing Schroth Physcial Therapy is located several hours away in Houston. That sounds so far, but it's actually a huge blessing-  the next-closest Schroth therapist was in Boulder, Colorado! We were very grateful to find this doctor so relatively close to us! Appointments are done daily in an intense 2-week period.So we are working out logistical plans right now trying to decide how to make this work before moving forward. Wish us luck!


Friday, March 1, 2013

Little Things and weekend plans

This post is just about life's little things. The little things that make me happy. The little things that make life interesting. 

Daniel loves his bike! He rides it everyday (as long as it's not raining). He REALLY loves to ride bikes with Daddy on the quiet, scenic country roads in our neighborhood  The bike is too small for him and it's made from pieces of different bikes. See the front tire? It's spray painted black to cover the previously pink paint....we reused the wheel from a thrift-store princess bike. Daniel doesn't care. He's just happy to have a bike, and -boy!- does he ride it everywhere! He takes his trusty bike all over the property, racing with Matthew to see who can off-road across the yard the fastest.  His birthday is next week....maybe it's time to upgrade his bike to a brand-spanking new one? 


I LOVE how colorful our farm eggs are! I feel a little blush of joy each time I glimpse these rainbow eggs perched on our counter. The wire basket they sit in is shaped like a rooster, isn't that perfect? It was a gift from a dear friend and I think of her every time I see it. I started selling our pastured eggs this month in town. Our chickens are happy to forage all over the pasture in the dappled shade under our oak trees. They don't even respect fencelines, so they head over to our neighbors regularly until the neighbor's dog chases them home. 

Look at the gorgeous colors the eggs are naturally made each day! I feel like it's Easter with those green eggs smiling at me. It's almost a shame to crack them open. My favorite eggs are the dark brown ones. We call them 'chocolate eggs'. Who wouldn't want a chocolate omelet for breakfast? Mmmm.


This shot was taken at the Dinosaur Pit in Austin's Nature and Science Center. Daniel is such a kind big brother. He's often found doing creative things to help Diego explore the world or enjoy life. I love moments like this.


And I just love this picture. This scene totally warms my heart. There's something magical to me when an innocent baby explores part of their world. It reminds me how wondrous life is every day.


Sarah and Matthew are heading to the regional competition for Destination Imagination tomorrow morning. 

We'll be gone before the sunrise and returning home hours after sunset. They've worked hard for four months preparing for this competition. 

Earlier this week our team was very chaotic at our team practices, especially when our scenery kept falling apart any time it was touched. Frustrations! I'm not allowed to solve any of their problems, so it was really neat to see them pull together and work as a team to fix their unexpected mishaps on stage. 

I've been amazed at the personal growth they've each shown this year! They've learned some amazing life skills, made wonderful friendships, and had a good time creating their presentations for the Challenge. Sarah and Matthew are already talking about doing it again next year. 

Now we're off to bed so we can rise bright and early for the competition. 

They are competing against 14 other teams. Yikes! That's so many!

Wish us luck!


Tuesday, February 26, 2013

Final Stretch of Destination Imagination

One week until our little band makes it to competition! Yay! There is light at the end of this tunnel! 

During crunch time, we've had our DI team come over several nights each week to finish preparing for their big day. They have been busy painting backdrops for the performance and constructing a unicorn. 

The boys worked hard at painting the village Sarah sketched onto a bed sheet:


The girls labored over the finishing touches of CandyLand. Again. We've working on it for WEEKS. Why? Cause we wanted to be original and took the pointillism approach to paint it exclusively with thumbprints. Sigh. It seemed like such a good idea at the beginning... but over 100 hours of work later, we no longer thought so. It took weeks to finish this one backdrop, and it's not even worth very many points. 

Ah well. At least it looks cool. And -who knows?- maybe the judges will love it and grant the award for extra creativity.


We also worked on gluing together a unicorn costume for Matthew. Here is the beginning stage of the costume:


After hours of work and a bit of play followed with lots of pizza, we were ready to call it a night.

Oh- did I mention what date we did this crafty meeting?

It was Valentine's Day.

Forget candlelight dinners or roses for me when competition looms.

Instead, I was given giggles and hugs from these darlins:


Sunday, February 24, 2013

Nature and Science Center

My kids beg me to find excuses to drive into 'the Big City' just so we can visit this magical place.

What is it, you ask? In a nutshell, it's an educational complex nestled in the heart of the sprawling metro park in downtown. 

It has a mini nature museum (which is all hands-on for kids...the 'awesome' points just skyrocketed for that detail), a small zoo, nature paths to explore, a dinosaur dig for kids to excavate giant fossils, and educational activities. Did I mention it's all free?

If you time the trip just right (which we make a point of doing), you can catch the professional Naturalists who staff the center.


They host a super-nifty area called the Trade-In desk.

Kids bring treasures they've found in nature (sea shells, fossils, rocks, bones, bugs, etc) and learn more about it with the Naturalists. 

Here Sarah shares some of her recent findings from our pasture- some animal bones. She was able to learn what animal each bone came from and what type of bone it was. 


Can I just say, we LOVE the Naturalists here.

 They never just straight-out tell a child what the object is. They help the kids discover for themselves all the information they can. 

Instead of saying, "That's a raccoon/possum/deer/cat skull", they show the child a dozen different skulls and ask them to find out which one their sample matches the best. When they have a match, they learn what animal it belongs to. Then they discuss in detail what every little orifice is for, or why the teeth are shaped the way they are to accommodate dietary habits, or why the eyes sit on the head a certain way, or a million other details about zoology you ever wondered. 

Our kids love the exploration process here! Here Sarah and Matthew review their notes to figure out what animal they discovered.


The naturalists make exploring nature a grand adventure with their contagious enthusiasm, and even grown-ups enjoy listening to the details. 


Kids can trade in their treasures for points which they use to 'shop' the Naturalists' store. 

The store is a wall of shelves stocked with all the treasures other kids have brought in (see the background in the pic above? That's part of the store.)

Here Matthew and Daniel deliberate over potential prizes to cash in their points for. This is the hardest part of the visit as they agonize over their choices. Which is better: polished rocks or fossils? A huge cow skull or butterfly collection? Should they just save points for a bigger prize the next time we visit? 


Usually my kids have collected animal skulls, turtle shells, and various antlers or horns. 

For years Sarah also had her heart set on getting the most expensive prize- a preserved butterfly collection.

For years she had been saving up points for this goal.

Today was the day she finally earned it. 

We have one VERY happy girl.


Monday, January 28, 2013

We joined in a new delightful tradition this year.

It's called:

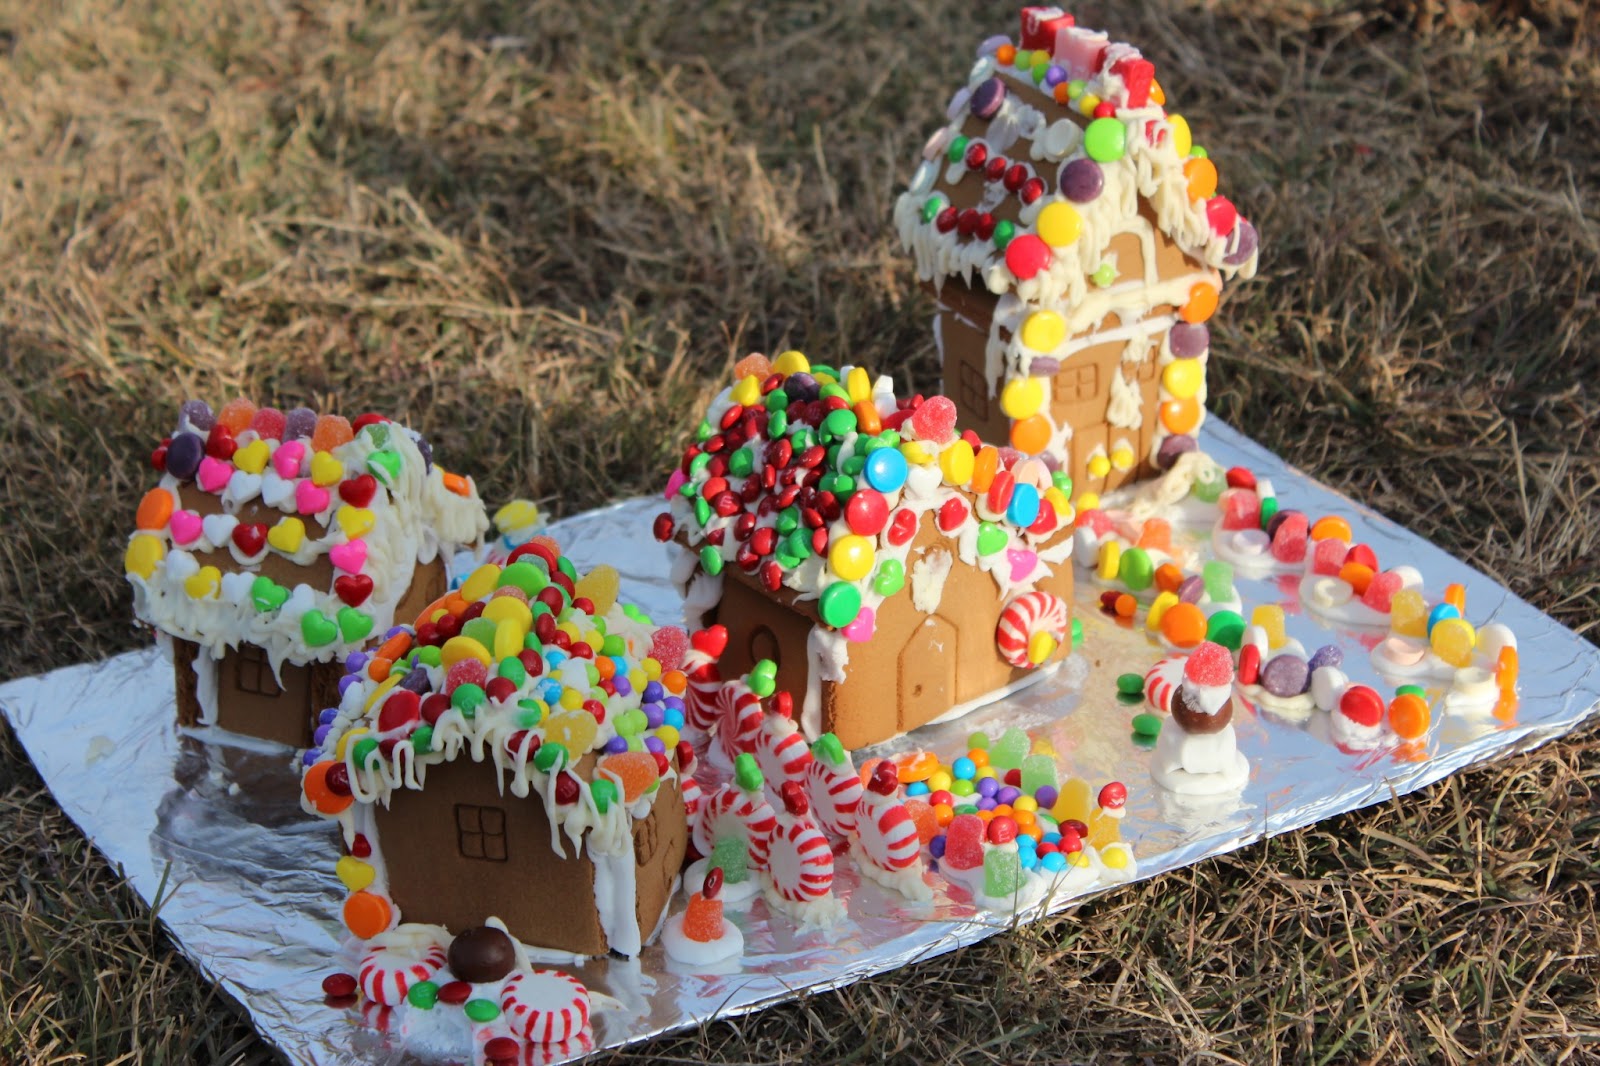
Run, Run as Fast as You Can, I'll Blow up Your House, Little Gingerbread Man!

It's a holiday to creatively dispose of old stale gingerbread houses...with explosives.

Several families gathered to enjoy the cold weather and sip hot apple cider while we watched the spectacle unfold.

Here is part of the lineup waiting to be demolished:


The boys and men carefully filled each house with explosives.

Some people chose to use M80's, others opted for bigger explosives with more spectacular effects.

Check it out:


The spectators kept a safe distance away while waiting in excitement for each new explosion.


After each demolition, the kids would squeal and swarm to the ruined house, eager to see the rubble. 

During the festivities, children played all over the property and roasted marshmallows.

Nathan and I tried to sneak a picture together, but it turned out totally blurry. I kept it anyway, since we have so few pictures together.


To end the day of fun, there was a polar dip in the frigid swimming pool. 

True, we may live in Texas, but it was COLD that day. 

The water must have been in the 30's. (Okay, you Alaskan relatives- mock me all you want. Our 'polar dip' is probably a steamy hot tub compared to your arctic dips midst ice-filled water. It's all relative.)

It made me shiver just watching people jump in the cold water and gasp in shock. 


Most people dipped in once, squealed in astonishment, and ran for a towel.

Not Sarah. She LOVED the cold water.


She relishes cold weather.

Today was her favorite day of the year.

While almost everyone else gasped and spluttered in the cold water, she laughed and luxuriously swam laps.

She climbed out into the brisk air and dove into the pool over and over again with delight.

She stayed in the pool way longer than anyone else, not even shivering when other kids lips turned blue.


Wednesday, December 5, 2012

A Day at Hogwarts

Magic wands, wizard cloaks, and spell books- oh my! 

We had a lot of fun preparing for everything for Sarah's Harry Potter themed birthday party!

Earlier we had made magic wands for all the children. The wands were really easy to made and they looked pretty convincing. 

Invitations were printed on card stock in an old-fashioned calligraphy style. They read:


Dear Student,

We are pleased to inform you that you have been invited to Hogwarts School of Witchcraft and Wizardry to participate in special mid-term classes in Potions, Charms, Transfiguration, and Care of Magical Creatures.

This special celebration is in honor of Gryfindor's newest head girl, Sarah Kingsley, International Confederation of Prefects. Classes will begin at the stroke of 2:00 on November-----.

Please come to our secret location, currently disguised as a Muggle (non-wizard) residence at -----. There you will find the magical door visible only to Hogwarts students and friends. The secret password is "Flibbertigibbet". The surrounding area is well-protected with Memory charms, so it will be safe to practice magic indoors and outdoors.

Feel free to dress in either wizard robes or Muggle clothing.

If you are unable to respond by Owl Post, please use the Muggle telephony system and dial ----.

We look forward to your arrival at Hogwarts!

Sincerely, 

Mrs. Renae Kingsley, Headmistress of Frolic and Feasts, Hogwarts Academy


The invitations were folded and sealed with red sealing wax. The name of each guest was written in calligraphy on the envelope. I also put a couple small feathers sticking out to make it look like an owl delivered it.

hogwarts party, secret door to hoqwarts, train platform wall,
Our Secret Door to Hogwarts
I created a magic brick wall for the guests to run through as they entered the magical setting of Hogwarts.

Luckily I found a perfect brown canvas curtain at the thrift store, so I used that as my backdrop. 

I purchased a fat sponge from the hardware store and used 4 different colors of brown craft acrylic paint to create the bricks. I added shading and highlights in an attempt to create an old 'industrial' look so common in British railways. 

We simply suspended a curtain rod across our doorway and hung the curtain. 

The guests all giggled when they said "Flibbertigibbet!" and ran through the wall. 

They even remembered to say the magic password each time we went outside to play outdoor games.

The inside of the house felt magical as soon as they entered and saw the decorations and heard the magical soundtrack from the Harry Potter movies. It felt so delightfully festive!

As guests arrived, we provided their school supplies in the entryway. 

A table draped in black served as our 'store'. It held our black wizard cloaks (which I snagged for $2 each at the thrift store during Halloween) and spell books on one end. The children tried on the cloaks until they found one they liked. The spell books were simply made by cutting printer paper into halves, then folding those in half again. The cover is a half-sheet of black construction paper. We stapled the binding and wrote 'Spell Book' on the cover with a white crayon in scrolling letters.


Earlier that week I had made feather quill pens for the guests to use during 'classes'.

My children collected pretty feathers on our property (with 35 chickens, there's a lot of pretty feathers laying around!) and I trimmed them to accommodate a pen. We stripped ball point pens of their cases and taped the pen securely to a feather with silver duct tape. 

The children LOVED their quill pens and thought they were such a cool party favor. They really enjoyed taking notes during potions class with these pens.The nice part is I only spent around $3 to make 15 pens! 


harry potter quills, feather pens, quill pen, wizard party favor, harry potter party favor
Quills for class

The next station was the wand shop. I told a story that Ollivander (the wand craftsman in the books) couldn't make it to the party, so he left me a box of wands to use.

I had the children come up one at a time to find the right wand. (In the book the wands pick their owners rather than the other way around).

 I'd let them pick a wand to try out and I'd describe what magical item was in the core of each wand. (For example: Oh you picked a wand with a Pegasus feather core! Good pick! Now give it a swish in the air and see if it likes you! No? Let's try the pixie dust wand over here....)

The kids were SO excited to see which wand they had. I told them that the magical essence in the wand core was one of the following: a dragon heart-string, a Griffin feather, a strand of unicorn hair, a Pegasus feather, pixie dust, or a Phoenix feather. 

They were so delighted with their wands!

We used them to play games in the party, as you'll see later on.

ollivanders wand shop, wand party favor, harry potter wand
Ollivanders Wand Shop
We also had a chest of 'wizard gold'. (It's actually Nathan's large coin collection. He collects coins from around the world. It was a perfect prop for the party!). After each game, I rewarded winning teams with coins to spend later at Honeydukes store. 

The kids marveled over the foreign coins and exclaimed how neat they looked. They were definitely better than using plastic pirate gold from the party store. 


In the kitchen I had set up the Potions Class with this decor:

potion jars, harry potter potions, potion labels, potion decor
Potions Class is ready to begin!
I collected apothecary jars from the thrift store and made potions labels to glue on them. The labels were printed on heavy card stock  I picked labels that looked a bit spooky so I use reuse these bottles as Halloween decor next year. (Won't that look so cool on the mantle?) 

Up-close view of an aged potion label: Dragon Scales
I painted the labels with thin washes of watercolor in an attempt to artificially age them so they wouldn't look unnaturally white and new. 

I applied labels with Mod Podge. Some bottles I wanted to reuse for other things, so I didn't glue labels on them. Instead I tied them to the bottle with string.


We also set up Honeydukes Candy Shop in our dining room hutch. 

We served pumpkin pasties, licorice wands, lemon drops, pixie dust (made with real Cornish pixies!), cockroach clusters, cauldron cakes, pretzel wands in two flavors, and Bernie Botts Beans. 

pumpkin pasties, honeydukes


Sarah peruses Honeydukes to pick a treat

I'll write the details of our class activities and games (and potion recipes) in my next post.

Until then, here are some glimpses of our guests after the party ended. They had a lovely time playing with kittens, riding tree swings, and pretending to shoot spells at each other with their wands.

The following week lots of parents came to me and told me their children had a most wonderful time at our party. Sounds like it was a success!


Thursday, September 20, 2012

Girls Night Out


Nathan and I take our kids out for date nights several times each year for quality one-on-one time. 

The child gets to pick what we do (within certain parameters...I'm not driving farther than an hour!)

Sometimes we go bowling or visit book stores or play at the park. We always go out for a treat at the end.

Lately Sarah has been begging me to take her to the mall.

Putting my own reservations aside (oh how I detest malls! They always make me unsatisfied with what I have at home!) we spent an evening strolling through girly stores.

We tried on cute hats and admired the latest fashions.

I needed to pick up some make up, so we stopped for make-overs at the Bare Minerals store.

She loved it!

It was so fun for Sarah to sit in the special chair while the make up artist made her feel glamorous.

She smiled in pleasure as the soft make up brushes glided across her skin. 

She deliberated long over lip stick colors before carefully selecting a lovely pink.

We stayed until closing time and then headed out for a late-night dinner at IHOP.

This date was extra special because we were able to share it with cousins and aunties. 

We had a delightful time giggling and chatting into the late hours of the night.

It's so fun creating memories together!


Monday, July 30, 2012

Wild Imaginations

"Mom, the boys are playing stupid games.

Right now they are pretending their parents are dead 
and they're monkeys with super powers 
who are trying to break into a city. 

Booooring!"

She shook her head in disappointment and walked away muttering,
"Why can't they do something fun, like play with dolls?


Oh the complaints I hear from Sarah during the long days of summer.

Daniel certainly looks full of mischief- his head is brimming with schemes!

Wednesday, July 11, 2012

Boredom Buster

Sarah's rainbow toes
We played the nail polish game again this week. Don't those toes look so playful? I love it!

My kids found a book in our family library called "365 Things to Do when You're Bored."

 I thought it was a great thing as they started doing science experiments in the kitchen. 

After making several batches of unidentifiable colored liquids, crystals, and goop, the kitchen looks like a food-colored bomb exploded. 

 At least they mopped the floor...which actually saves me the hassle of doing it myself. 

Their hands are all dyed dark blue. 

The "blue goop" experiment is now officially banished from my house.

Monday, June 25, 2012

What to do with 50 pounds of apricots?

Our supply of homemade jam had dwindled to nothing, forcing us to -gasp!- buy Welch's grape jelly at the store. We haven't purchased commercial jam in several years, preferring our own fruity creations for PBJs.
  Things were truly desperate. 

When I saw apricots on sale for $1/pound, I knew these little beauties had a sweet destiny: lined up as jars of sparkling jams on my shelf.


We bought almost 50 pounds of apricots and began our work.

Sarah had never made jams with me before (other than helping prep the fruit) so we spent an entire afternoon together in the kitchen. She learned how to do each step on her own. 

how to make apricot jam
Sarah carefully measures the sugar for each batch of jam
We made several different kinds of apricot jam so we wouldn't get tired of the same flavor during the year. I've written some of our variations below. 
I made them up, but it is really easy to modify jam recipes, 
so I don't think I deserve any creative credit. 

The secret to modifying jam recipes is to keep the fruit to sugar ratio the same. For example, if a recipe calls for 6 cups of apricots, you can substitute 3 cups of apricots with 3 cups of any other fruit you'd like to add (mango, strawberries, etc.) Viola. 

Your possibilities are endless. The only limit is your imagination.

Sarah purees a batch of apricots
Here is the basic Apricot Jam recipe:

1. Wash jars and screw bands in hot soapy water, rinse with warm water. 
Pour boiling water over the flat lids in a saucepan off the heat.
 Let stand in hot water until ready to use. 

2. Prepare fruit according to your desires
 (some people chop fruit by hand, some people scald the fruit
 to peel off the skins....that's too much work for me. 
I just puree it all.
 That is taboo in the jam-making world and I'd never stand a chance entering this stuff in a fair, but I don't care about immaculate presentation. 
I just care about flavor and ease of preparation.
 Honestly, when I have a dozen batches of jam to make, 
I'm not peeling the fruit by hand!)

3. Measure exact amount of prepared fruit into a large stockpot. 
Stir in lemon juice and any other flavor ingredients (see variations below).

4. Measure exact amount of sugar into a separate bowl.
 (Altering the amount of sugar will result in failed jams that won't set. 
Be careful! 
On a happy note, failed jams make FANTASTIC pancake toppings!)

5. Stir in 1 box pectin into the fruit in the saucepan. 
Add 1/2 tsp butter to reduce foaming, if desired. 

6. Bring mixture to a full rolling boil
 (a boil that doesn't stop bubbling when stirred)
on high heat, stirring constantly. 
(Seriously, don't stop stirring...
if you don't stir, it will scorch on the bottom and 
ruin everything.)

7. Stir in sugar quickly.
 Return to a full rolling boil (don't stop stirring!) 
and boil exactly one minute, stirring constantly. 
Remove from heat and skim off any foam. 
(I put the foam on a dish and let the children dip freshly baked bread into it.
 It's yummy!)

8. Ladle quickly into prepared jars, filling to within 1/8 inch of the tops. 
Wipe jar rims and threads with a clean cloth 
(although, if you use a funnel when you fill the jars, 
there should be no spilled jam on the rims). 
Cover jars with two-piece lids and screw the bands tightly down.
 (Make sure they are tight!
 I can tell you, it makes a big mess if they aren't tight! 
You'll see why in a moment...)

9. Flip the jars upside down so the jam touches the lid. 
Let sit in this inverted position for 5 minutes 
(this is easier than processing the jars in a water bath. 
The hot jam sterilizes the jar and lid. 
This is why it's so important to have the lids tightly screwed on. 
I know from sad experience. 
Trust me. 
Jam is not fun to scrub off the counters, 
especially when an entire quart has spilled.)

10. Return jars to their original position and let cool on the counter overnight.
 Label and store in a dark place for a year. 
(They always say store it only for a year,
 but I've opened jams that were forgotten for 3 years
 and they were just as good.)


Spiced Apricot Jam-
5 cups pureed apricots
1/4 cup fresh lemon juice
7 cups sugar
1 box of pectin
1 tablespoon finely chopped crystallized ginger
1/2 teaspoon freshly grated nutmeg
1/4 teaspoon freshly grated ginger root
1/2 teaspoon ground cinnamon
1/4 teaspoon freshly ground cloves
1/4 teaspoon freshly ground allspice
(This is irresistible! It takes like Christmas in a jar!)

Tropical Apricot Jam-
2 1/2 cups pureed apricots
2 1/2 cups pureed mango
1/4 cup lemon juice
7 cups sugar
1 box pectin
(This one is super delicious and really easy. It's one of our favorites.)

Blueberry Apricot Jam-
3 cups pureed apricots
2 cups pureed blueberries
1/2 cups fresh lemon juice
7 cups sugar
1 box pectin
(Another really easy variation! This one is a beautiful purple.)

After storing away dozens of jars of jam, my friends asked me to help them harvest wild grapes this week. Tonight we are grape-picking for Family Home Evening.

Last time we harvested the wild mustang grapes in Texas, our van was filled with huge tubs of fruit. Mustang grapes make wonderful jelly.

Since we'll be making jellies again all week, if any of you local readers want to come learn how to make it, you are welcome to email me and I'll let you know what time to be here. Bring a picnic lunch and we'll let the kids play while we cook.